
Hey folks!
Last Wednesday was our big project day. The week before we had already started speaking about what the Snowy Owls wished to do on the big project day so I had enough time to get materials. The children are currently very eager to earn their stickers and beads. Therefore, after they had taken a glance at the missing stickers on their bingo sheets they made a quick decision: help an animal out. Last year they claimed they had already made bird houses. So we wanted to try and help a different kind of animal out. But which one … ? Bats! Bats need homes too and are quite helpful as they can eat up to 1000 mosquitoes in one single night. Enough said here! We began researching how bat-shelters are made and it turned out to be fairly easy. So on the project day I brought a good building plan we could follow while making our very own bat-homes.

Before we got started we needed to think of all the tools and materials we needed to make these homes:
- hammer
- saw
- wood boards
- nails
- measuring tape
- pencil
- mesh
- work bench
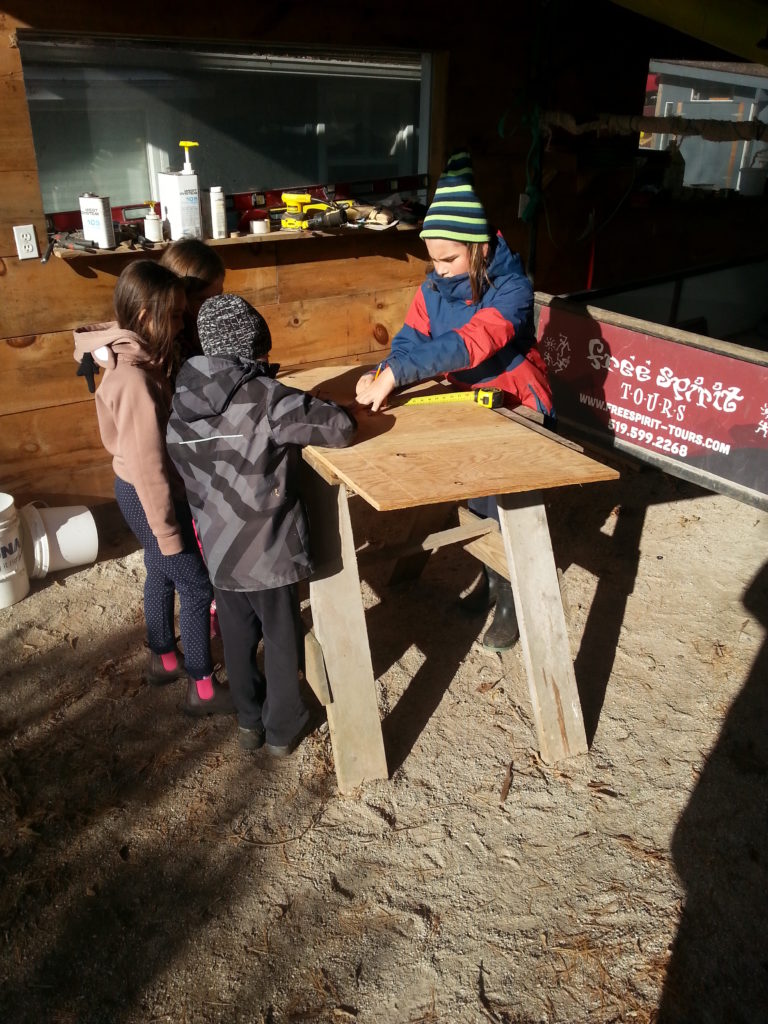
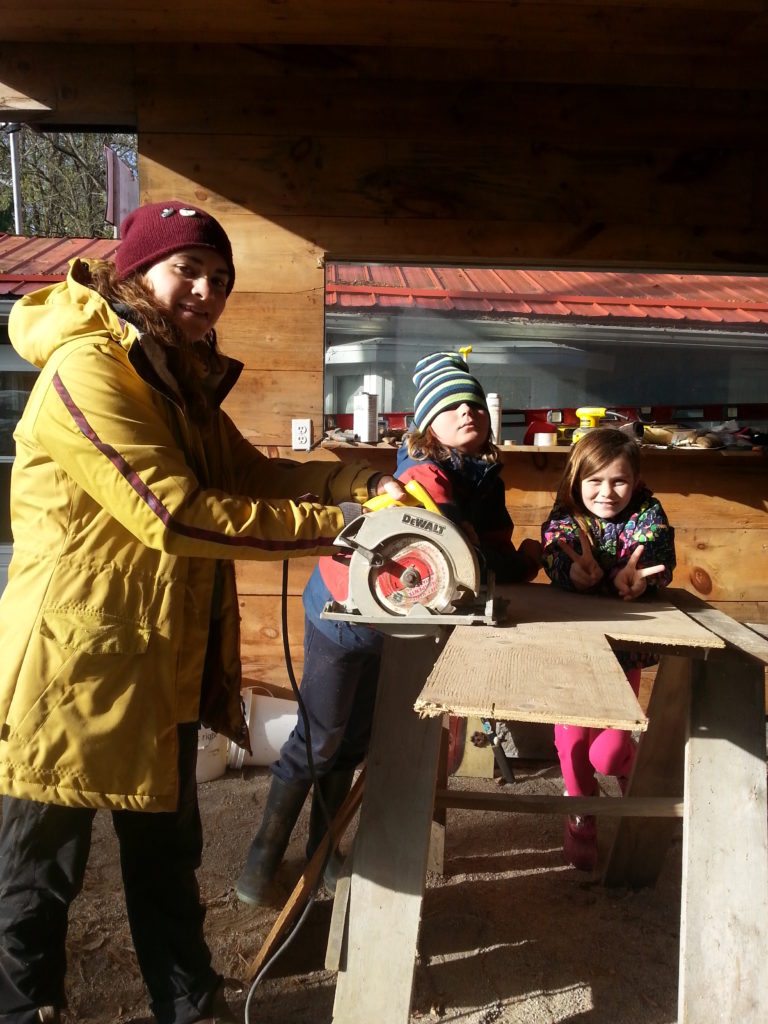
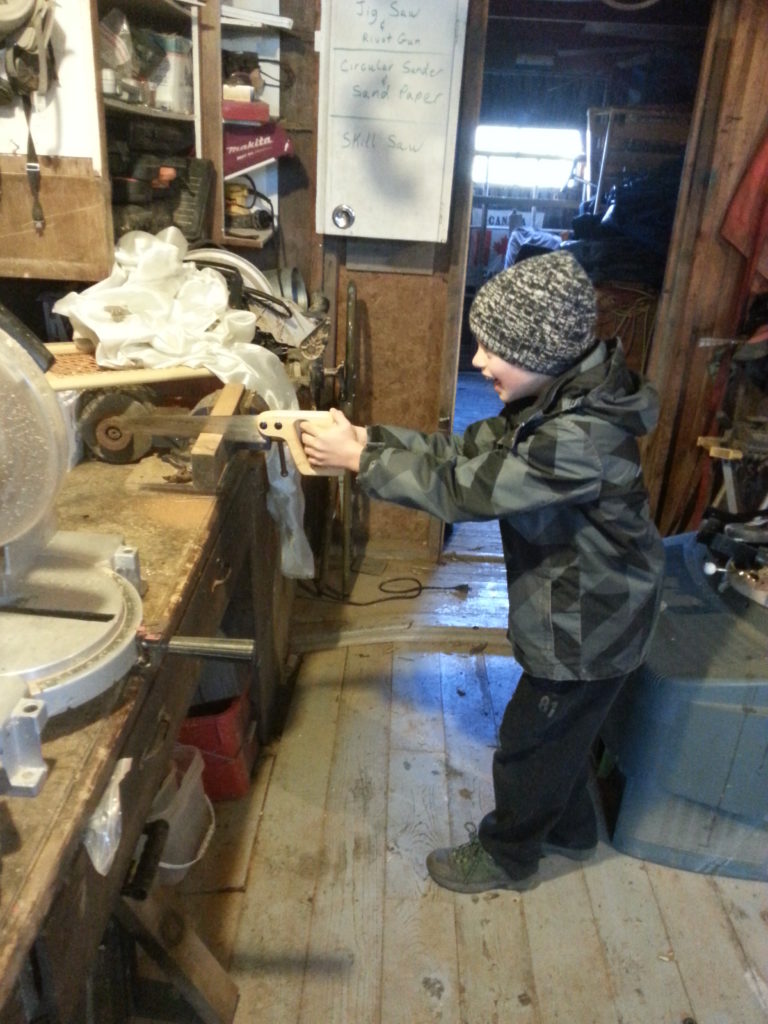
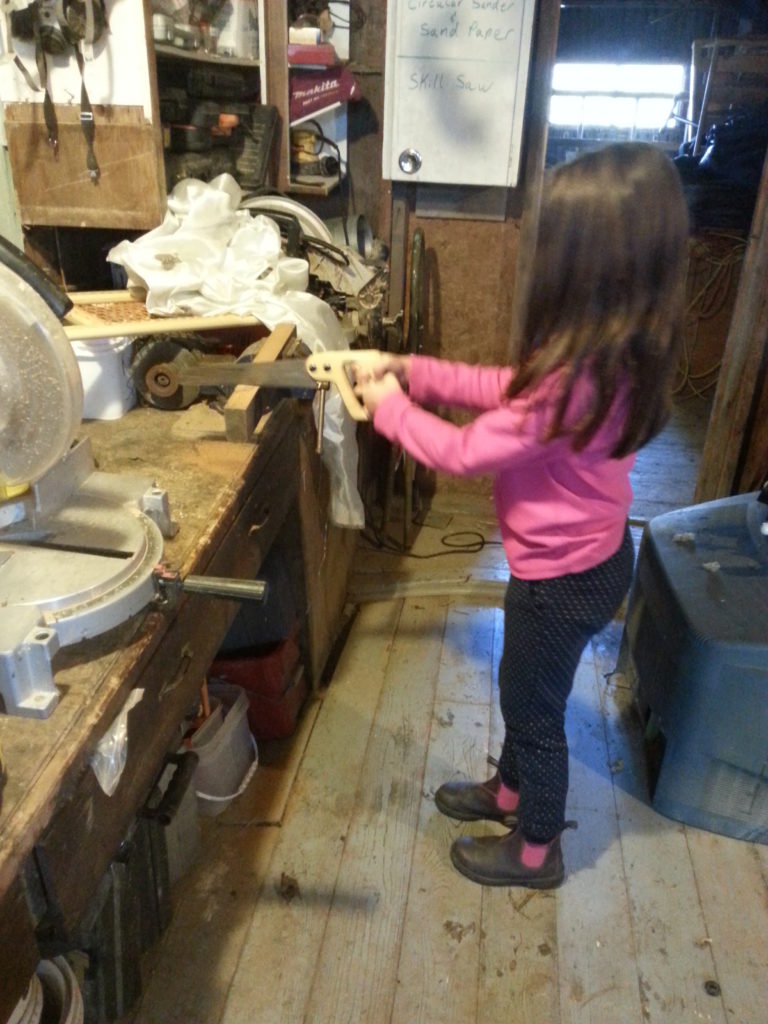
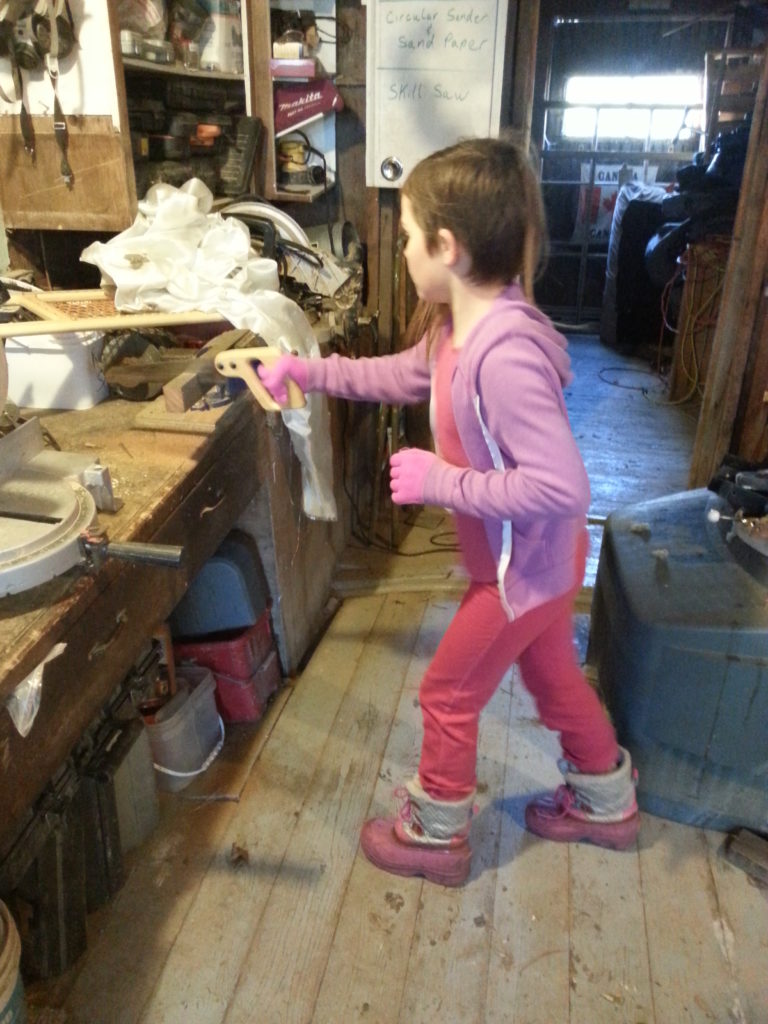
Now that we gathered everything needed, we were able to begin! To start off, we needed to prepare and cut all the necessary wood pieces to make the shelter. We needed a back piece, roof, 2 front pieces, 2 side pieces and a piece for a predator guard. We started measuring on the big wood boards, trying to be as precise as possible. After everything was measured it was time to put the saw to use. But before we went over some safety rules to ensure our project day would go without injuries. I received a lot of help from the students while working the electric saw: they held the boards in place and exchanged the boards when needed. It took all morning to finish this first big step of getting all the correct wood parts together for the bat-shelters.
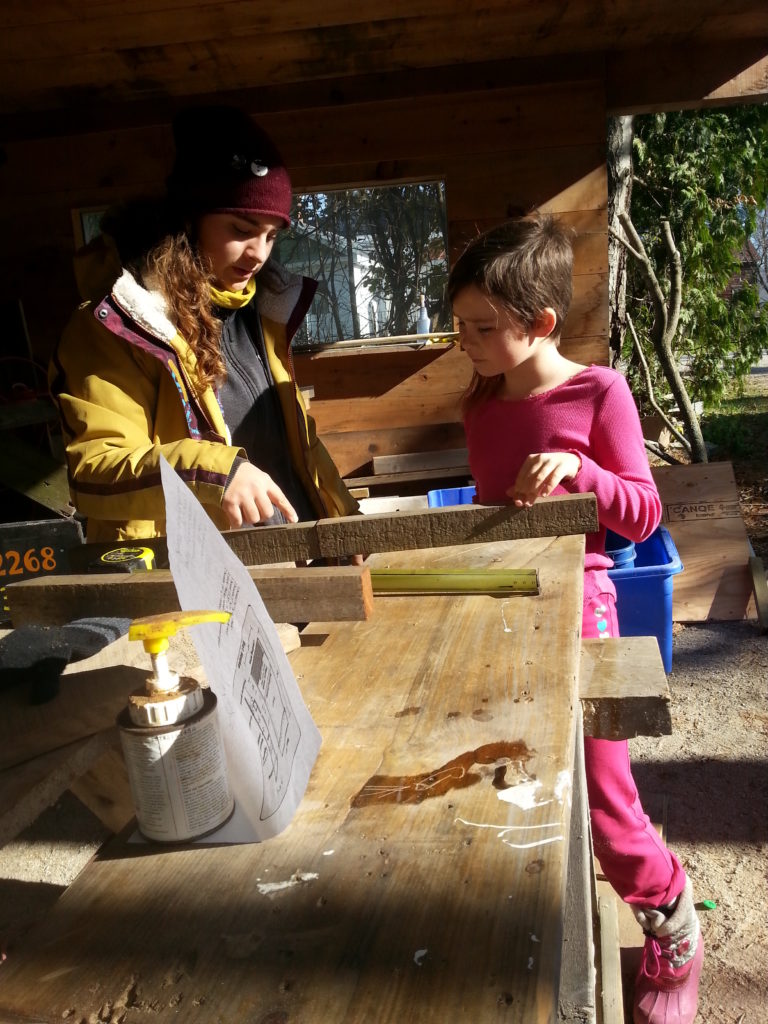
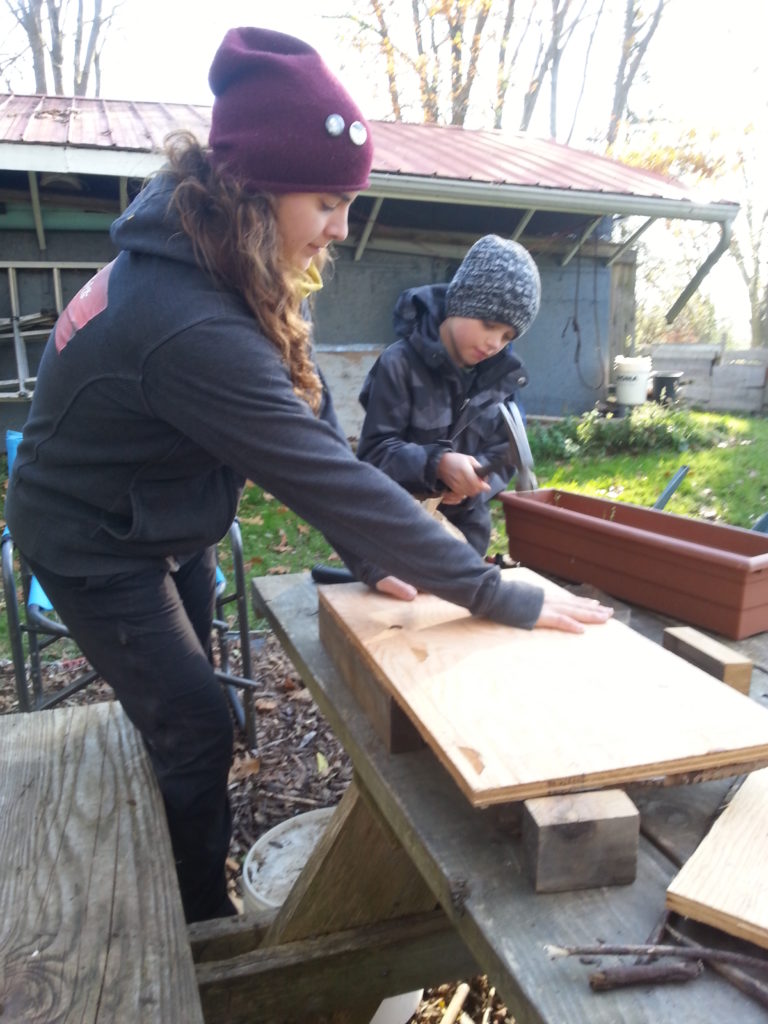
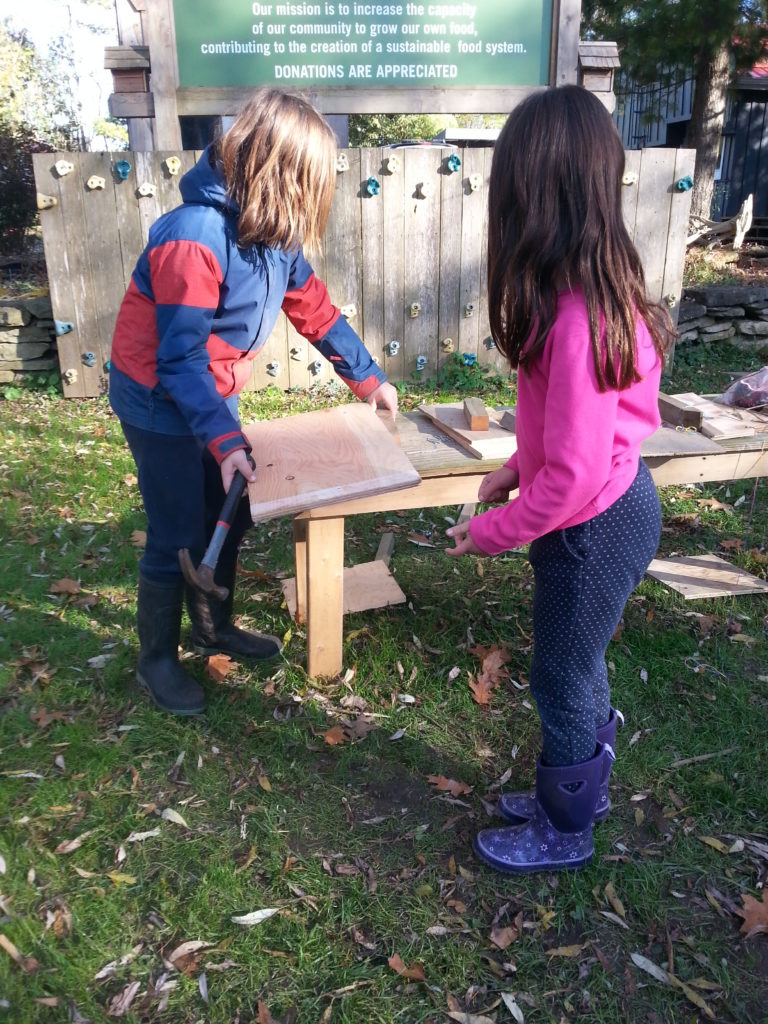
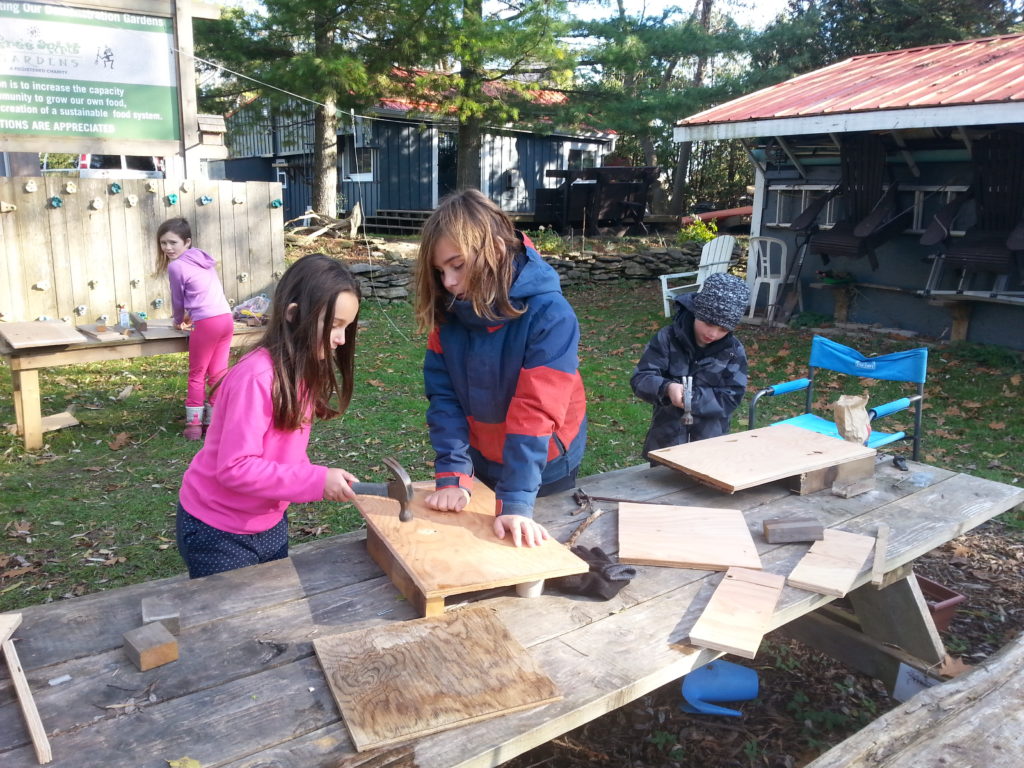
After lunch and a good session of exploratory play we were ready to continue. This time putting a different tool to use: hammer. Again we went over some safety rules. Taven, experienced working with tools and wood, also gave us a lot of useful tips on how to use a hammer and nails.
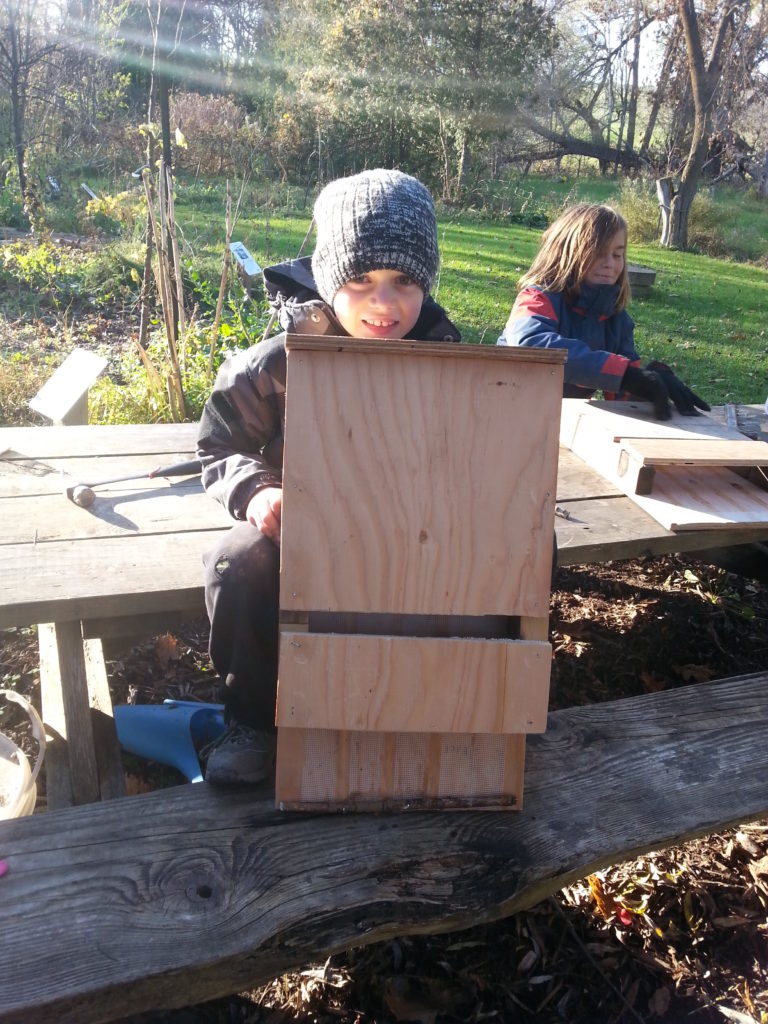
We took out our plan on how to build the shelter and started assembling the pieces. The students discovered that it was easier to work with an assistant, so they teamed up and helped each other out. A lot of nails were slammed into wood and slowly, but surely our projects began to take shape and look like actual bat shelters! We were busy all afternoon. Time flew by and we didn’t even realize how fast pick-up time was approaching. As the first parents arrived, we were still busy finishing our homes. The bat shelters looked AMAZING!
What a successful day at Forest School, getting creative making projects to help animals out 🙂
Next week: hiking
See you then! Tamara